


This postgraduate course has been designed to help you push the boundaries in your chosen field; developing not only your academic prowess but also the capacity to move beyond music and sound, exploring broader realms of creative possibility. It also offers a flexible and multidisciplinary approach allowing you to tailor the course content to suit your own creative and career goals.

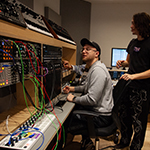
Develop advanced music production skills and prepare for a professional career in the audio industry. This music production master's degree combines technical expertise, creative development, and industry-focused learning to help you succeed as a music producer.

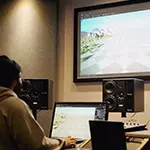
Develop advanced music production skills and prepare for a professional career in the audio industry. This music production master's degree combines technical expertise, creative development, and industry-focused learning to help you succeed as a music producer.
